Crunchie bar cheesecake base (for dummies)
I'm not one for posting recipes (nor, for that matter cooking, baking or much other kitchen activity), but since Google search results for 'Crunchie bar cheesecake base' don't come back with anything obvious or decent, I thought I'd whack this on here.
I'm a member of a Cheesecake Tuesday club in work, and when time came for me to offer my entry to the group, I stressed about producing something unique and simple, while crowd pleasing. I guess I was eating a Crunchie when it occurred to me that having the base made of such a generally likeable bar which also has the properties of making a good base (crushable, malleable, absorbing) could be a really good strategy. And so it proved!
As I'm not a recipe guy, didn't follow any specific guidelines and am going from memory, you'll have to bear with me here and use you imagination if you want to follow this.
Ingredients / tools:
- 23cm baking tin and baking paper
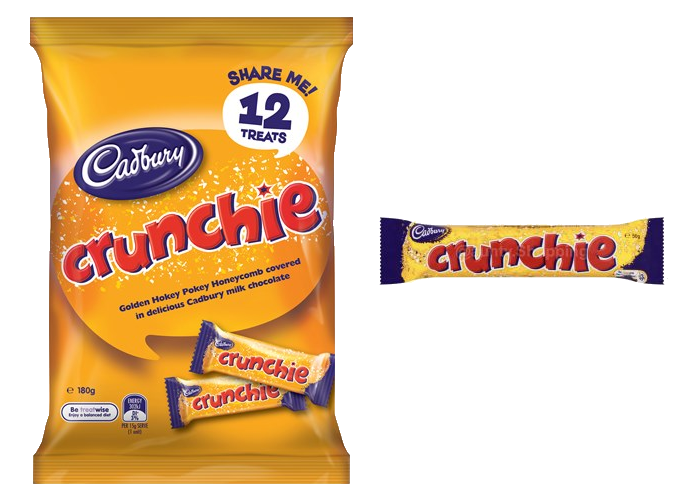
- 2 bags of 12 individually wrapped 'treat' Crunchie bars (total 180gms x 2)
- 1 regular Crunchie bar (seems like about 50gms)
- Large glass bowl
- Butter, I probably used more than I should have, let's say 20gms
- Wooden spoon
- Oven and microwave
Process
- Pour the first bag of bars into the glass bowl and beat the crap out of them with the wooden spoon. Leaving small (5ml x 5ml is ok I reckon) chunks is ok, encouraged even.
- Once they're well mashed, pour that into the tin.
- Repeat steps 1 and 2 and see how much of the base of your tin you've covered with a good 5ml - 1cm thick layer.
- If you've got significant gaps, repeat steps 1 and 2 with the main bar. If you haven't, take a rest and proceed to eat the main bar with a cup of tea. You've deserved it after all that mashing.
- Hopefully now you've got that 5ml - 1cm thick layer. If not, head out to the shops for more Crunchie.
- Turn on the oven to 120 degrees Celsius and plonk the butter into the (now pretty much empty) glass bowl. Check the bowl is microwave safe (best doing that before you put in the butter if it's written underneath).
- Stick the butter bowl into the microwave and blast on 20 second intervals until it's pretty fully melted.
- Pour the Crunchie mix from the tin back into the bowl and mix with your wooden spoon.
- Once well mixed, decide if you need more butter or not. Basically you want to think about plastering a wall here; it shouldn't be so dry that it won't set or there are un-wettened bits, nor so wet that you've got a predominantly butter ball. Unfortunately I don't have a picture, but use your best judgement.
- Line your baking tin base with baking paper. Not essential, so maybe consult other cheesecake recipes on this.
- Pour the Crunchie-butter mix into the tin, flatten out with the wooden spoon and make sure you've no significant gaps, particularly if your cheesecake is likely to be runny.
- Stick your tin in the pre-heated oven for about 10 minutes, keeping watch to not let the chocolate burn, and let it cool outside of the oven. Again, probably not essential but I did this to get the butter and chocolate make a tighter base that should add a little darker flavour.
- Continue with your cheesecake and sit it on top once the base has fully cooled.
I went with a white chocolate and mixed berry cheesecake to compliment this dense base. The base is what ended up stealing the show, so I highly recommend giving it a shot.